
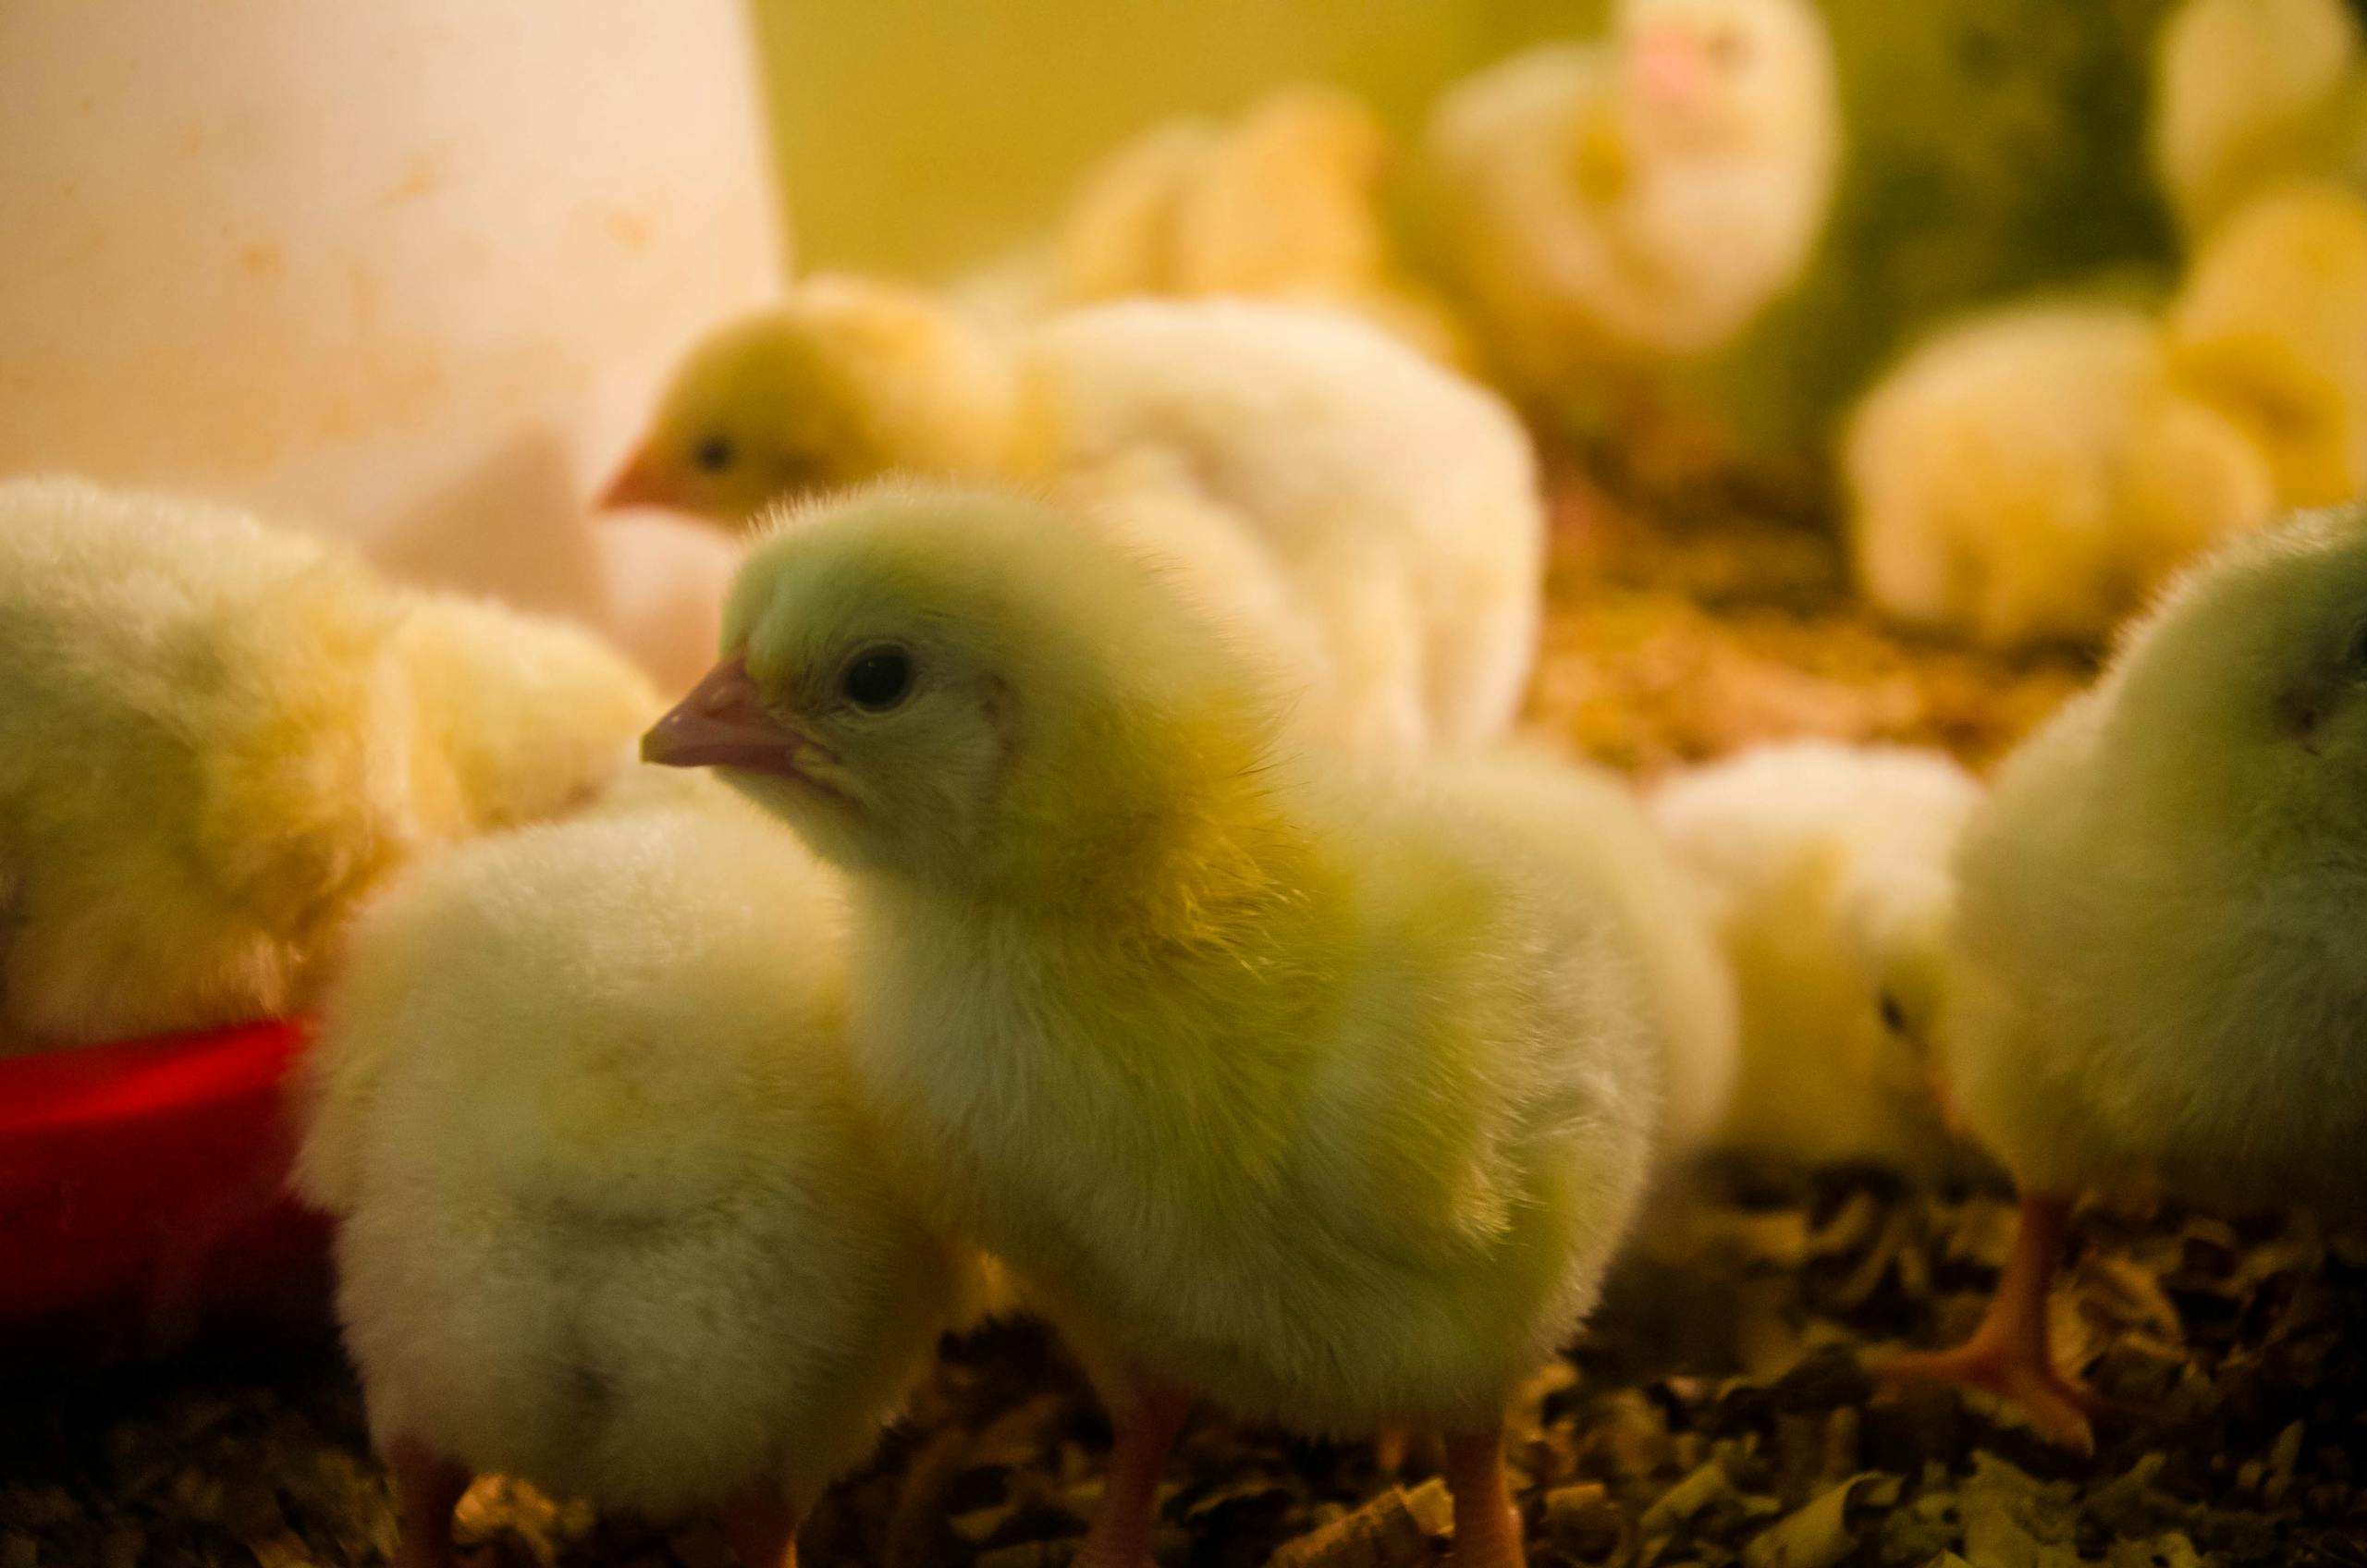
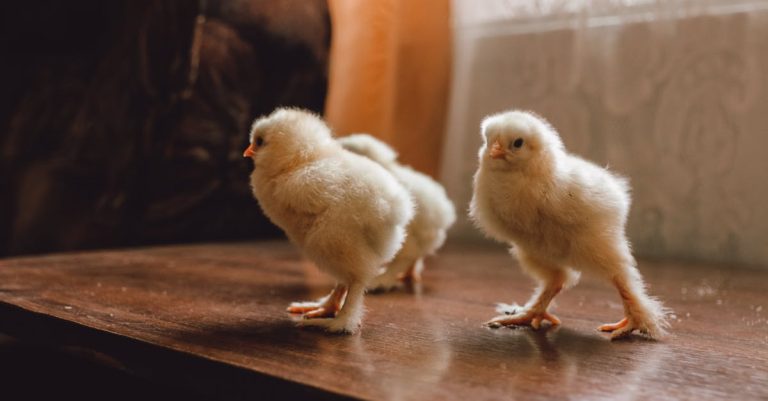
Poultry farming begins with sourcing good quality day-old chicks. The Major characteristics of a good chick include bright, clear eyes, strong, shiny, and dry skin, a dry and healed navel, no physical defects, and the ability to stand upright. After ensuring all these criteria are met, the next step is brooding.
After hatching, chicks cannot regulate their internal temperature which subjects them to chilling cold. This in turn affects sufficient water and feed intake leading to retarded growth, poor systems development, and increased susceptibility to diseases, increased mortality rate.
Brooder.
The brooder House (if at all you’re to separate it) should be at least 100m away from the main poultry house, in a non-dump area where fresh air circulation is adequate before going to the mature birds’ house.
Scrub, clean, and disinfect the area with an appropriate disinfectant, remember the latter is rendered ineffective where there is dirt/organic matter.
For breeders and hatchery operators, please make an airtight fumigation using FORMAGEN and combat disinfectant as I will elaborate later. Avoid the use of Formalin alone.
Get brooder guards to make a circular confinement ring of about 2 feet above.
Diameter depends on the number of birds, so get your Vet to determine depending on the floor requirements of the birds. Use materials that can easily be disinfected, cleaned, and movable.
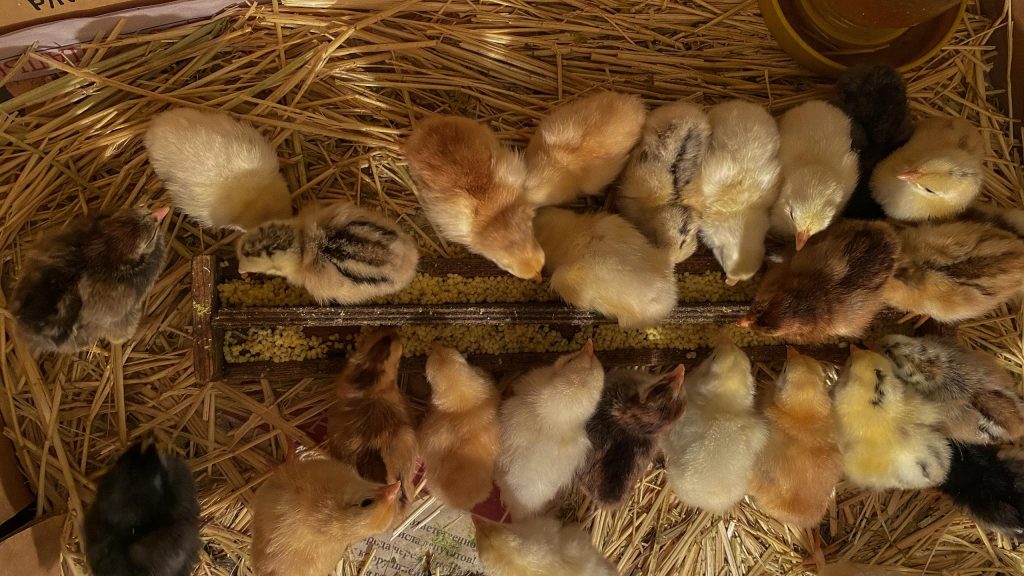
Cover the floor with moisture-proof litter materials like coffee husks, rice husks, and wood shavings to about inches in depth. Avoid using moldy materials.
Cover the litter material with newspapers. Do not use tarpaulins.
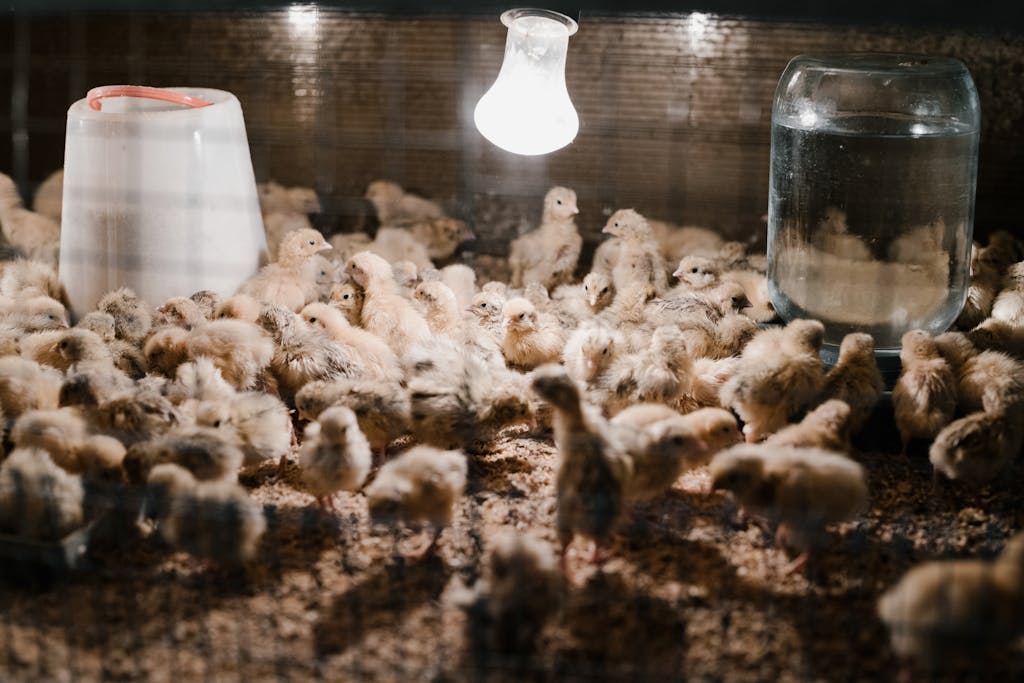
Ensure suitable free flow and exchange of air in the brooder by providing good ventilation.
Carbon monoxide levels exceeding 0.01% are poisonous, and ammonia levels above 10 PPM can also become dangerous. Consult your vet for regulatory measures. Chicks are kept here for about 4 weeks, depending on the season.
Brooding temperatures.
Before chicks arrive, the brooder must be preheated at least 6 hours to about 40 degrees. Reduce 5 degrees per week until you reach about 25 to 28 degrees at week 4
Where possible use a thermostatically controlled hover-type electric/gas brooder to ensure efficiency in temperature regulations.
A maximum and minimum thermometer positioned about 3 feet above litter level can be used. However, the ultimate indicators of temperature changes are the behaviors or physical appearance of the birds. Continue to observe your chicks physically; if their legs are puffy and swollen, then the temperatures are low.
Sometimes there are variations in temperature requirements; chicks from younger breeder stocks always require higher temperatures than their counterparts. So, consult a vet for an appropriate temperature setup
Never reduce brooder temperatures simply because you feel too much warmth, you are not a chick! In fact, in the first few hours heat in the brooder should be so much (Bout 35-40 degrees) that you can’t withstand for about 20 minutes.
Floor space requirement.
As a general rule, 1/3 ft2 is permissible per chick. Please talk to your vet for this can be adjusted depending on prevailing conditions.
Drinkers and water
As one of the pre-placement activities, mix clean water with *GLUCOVITAM PLUS and SANGROVIT*
Distribute the drinkers evenly in the brooder to ensure quick access to drinking water. Clean water should be provided all the time for it makes up about 70% of the total weight of the chicks
Avoid using rainwater for it might have been contaminated by wild birds that sit on the house roof, and dust. It must be treated first.
Ensure even and timely distribution of drinkers in the brooder to avoid poor uniformity in growth and constipation.
If you’re using the Closed-Nipples water system it’s advisable to install a Pressure regulator to ensure an even flow of water, and to flash the nipple lines before introducing the chicks.
Use drinkers for at least 3-4 brooding sessions only (if you use drinkers for a long time they develop a biofilm coating on the surface. This renders most disinfectants inactive especially against the sporulated coccidial oocysts that might have developed, causing endless infections to the birds.
Feeders and Feeding
After a while, introduce the feeds into the brooder. Do not just introduce the feed immediately as chicks arrive. This not only causes slower absorption of the yolk material but also impairs the development of the Gastrointestinal system.
Use hanging plastic feeders for easy cleaning (a 35cm diameter feeder of 12 kg can serve 100 chicks) but feeders should be introduced after the first week.
Use plastic trays in the first 7 days of feeding but do not put them directly under the heat and/or light source because they could melt or cause a fire.
Distribute the feeders within a period of 3 minutes to avoid competitive feeding.
Carry out a crop check: sample out some birds and palpate the crop at least every 2 hours and ensure it’s filled with food and water material. The crop must not be so hard.
Generally, 95% of the crops should be soft and pliable on palpation in the first 8 hours, this implies access to feeds. About feeds, the first 6 days our birds eat *GALDUS STARTER* Followed by kic20% from kaffika animal feeds.
Remember.
- Always have experienced veterinary personnel from whom you seek advice.
- Always source day-old chicks from accredited suppliers with records of performance and vaccination.
- Never compromise the quality of chicks for the sake of costs. Be focused my brother. Here in Uganda, I trust the quality of chicks that are supplied by Josca Farmers World in Bweyogerere and Container Village.
- When transporting chicks, use a well-aerated vehicle and only during weather-friendly conditions. Protect the chicks against sunshine and too much heat.
- Go straight to the farm avoiding unnecessary stopovers.
- Limit access to the brooder by visitors. Where inevitable they must first deep their feet in foot baths that contain a good disinfectant.
- After successful brooding (4 weeks), you’re advised to trim the beaks of your birds between 10-12 weeks. This is done by removing at least 2/3. of the upper beaks and about 1/3 of the lower beaks. Please remember to put antistress SANGROVIT WS In water to improve appetite, aid in healing, and reduce chances of mortality. Put sangrovit 3 days before and 4 days after beak trimming.
Brooder care and management is not a daily but rather an hourly routine.
In Brooding, very many consequences (80%) arise from just a few avoidable causes (20%). So be careful during this stage. It’s advisable to always seek practical advice from experienced veterinary personnel.
Use monvit L vitamin in the brooder to reduce brooder mortality, improve growth, improve disease resistance, get more broiler weights, reduce transport and heat stress, and Improve appetite/ feed acceptance.
Use sangrovit in laying hens to Improve egg production, Fight against stress after vaccination, debeaking, deworming, change of litter, weather change, disease recovery, etc


This is great 👍
these is really good